Your First Notes
Wesley Campbell
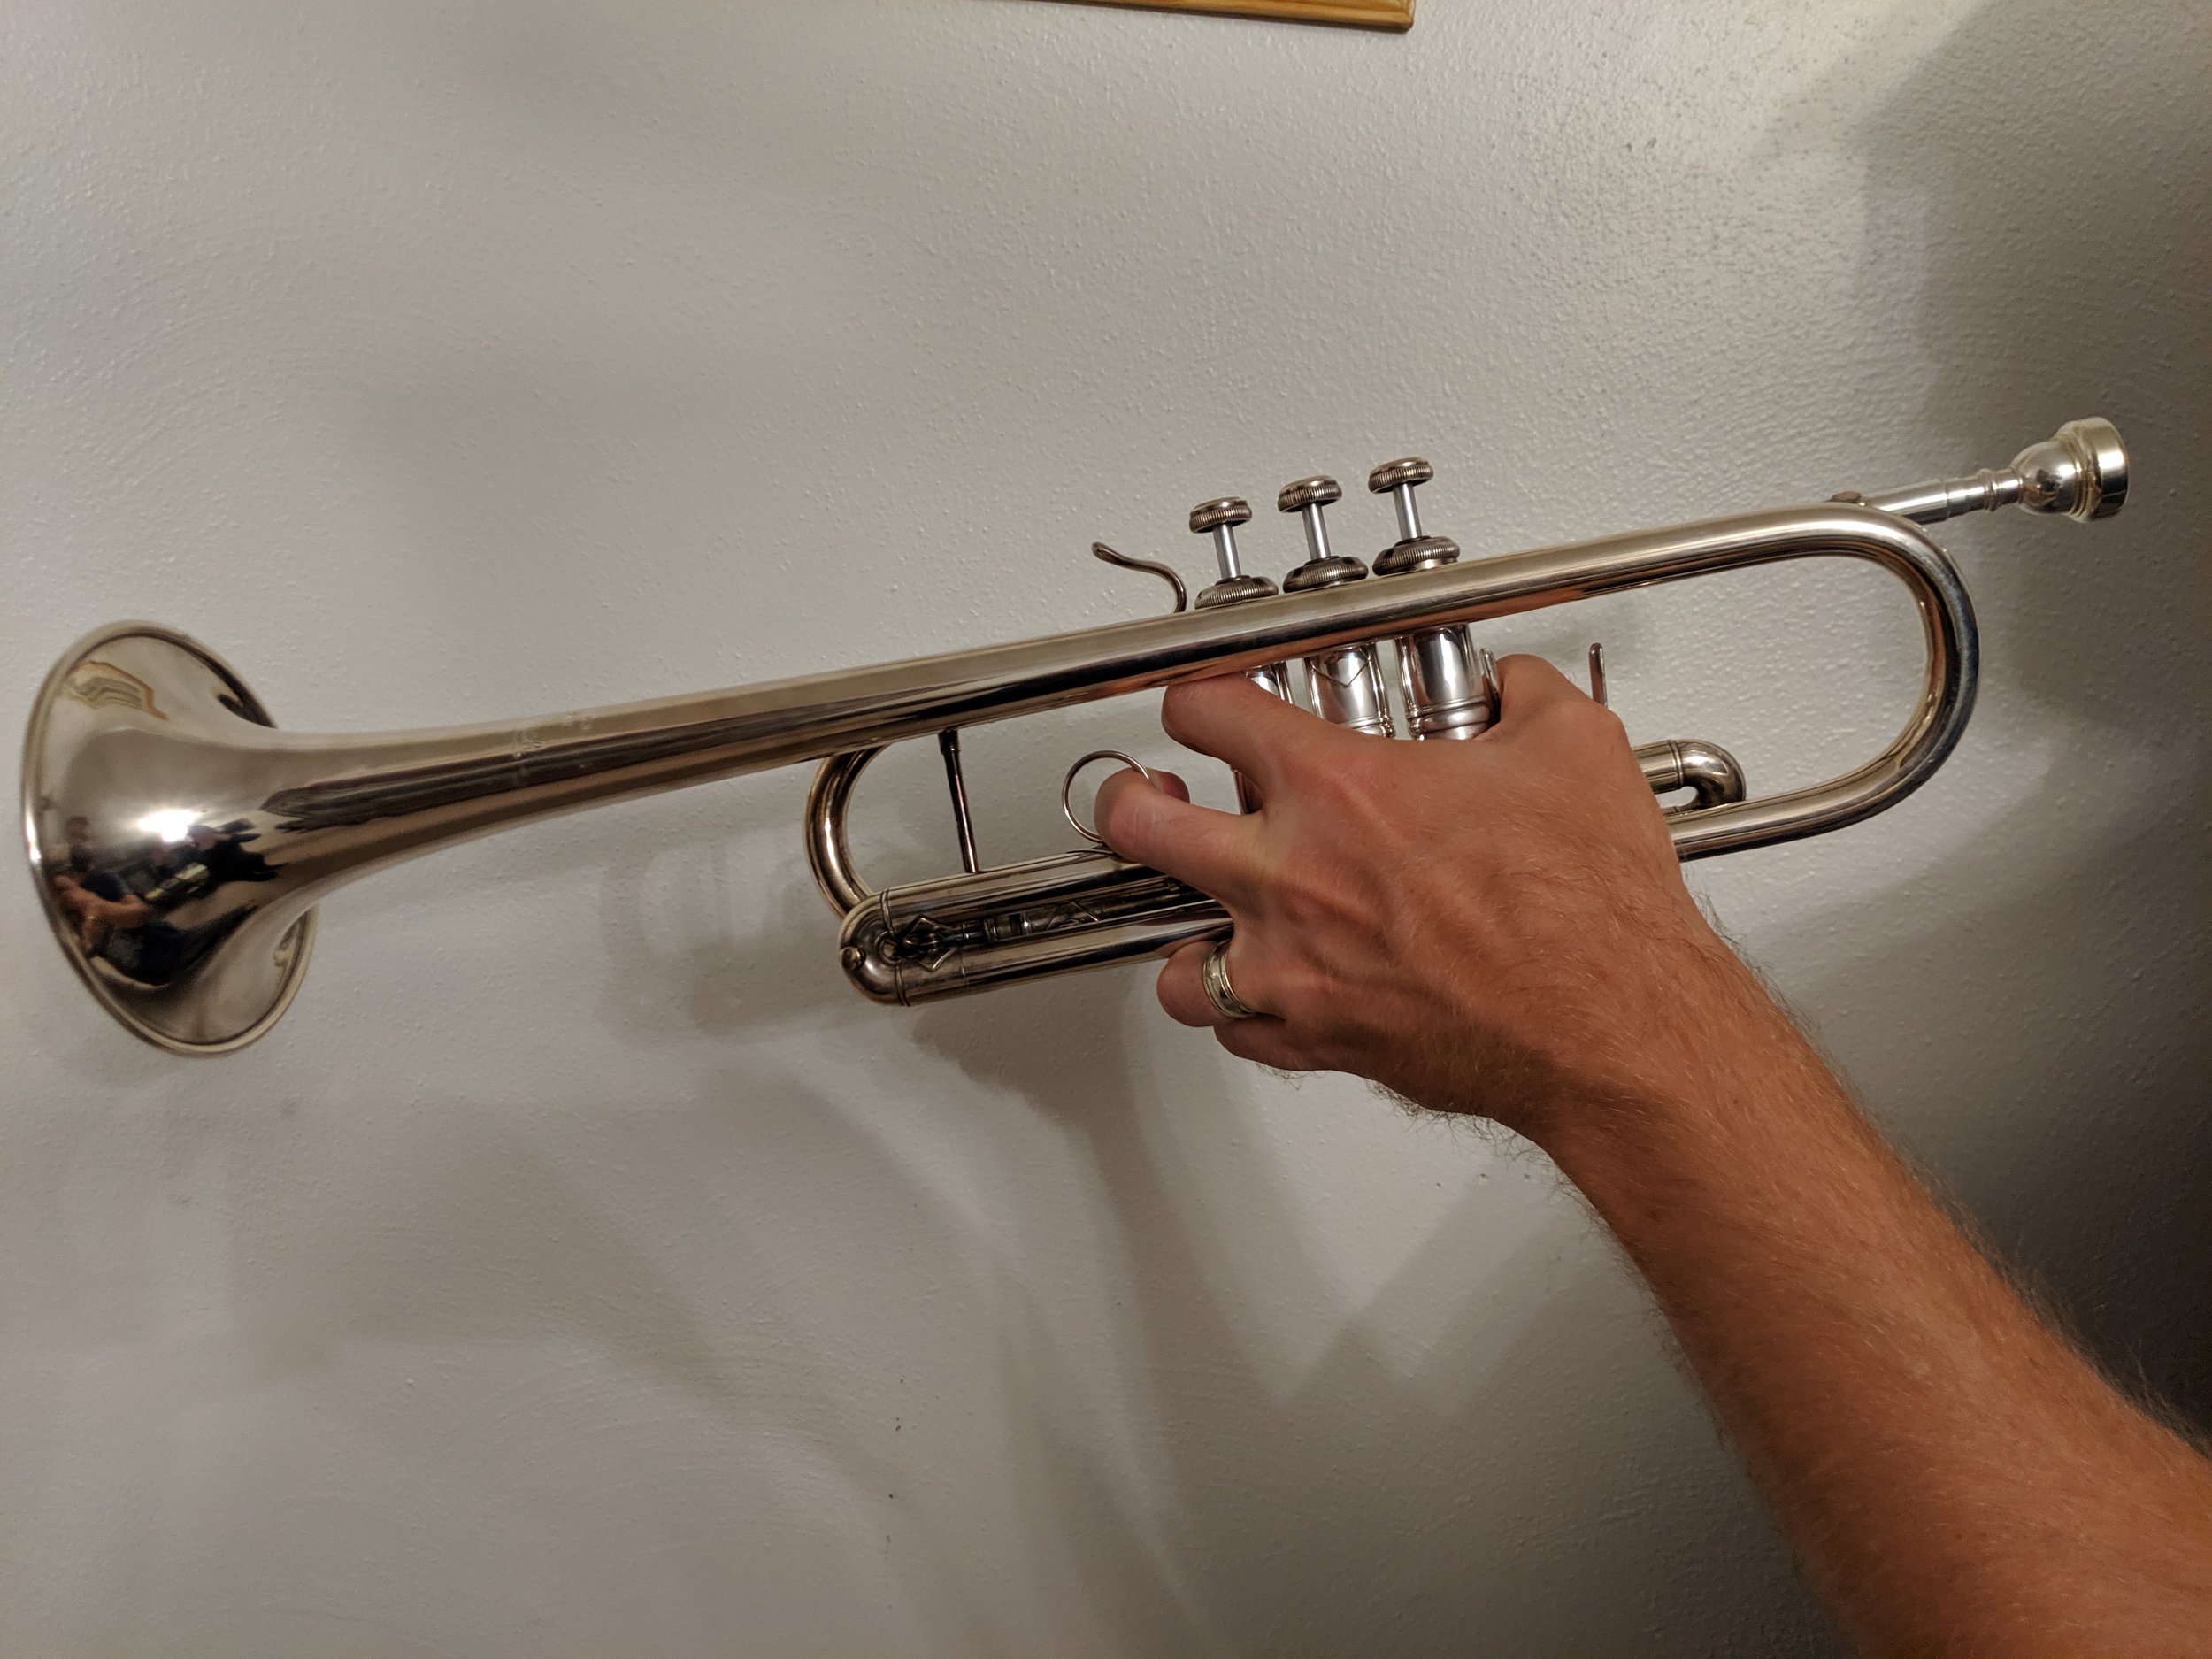
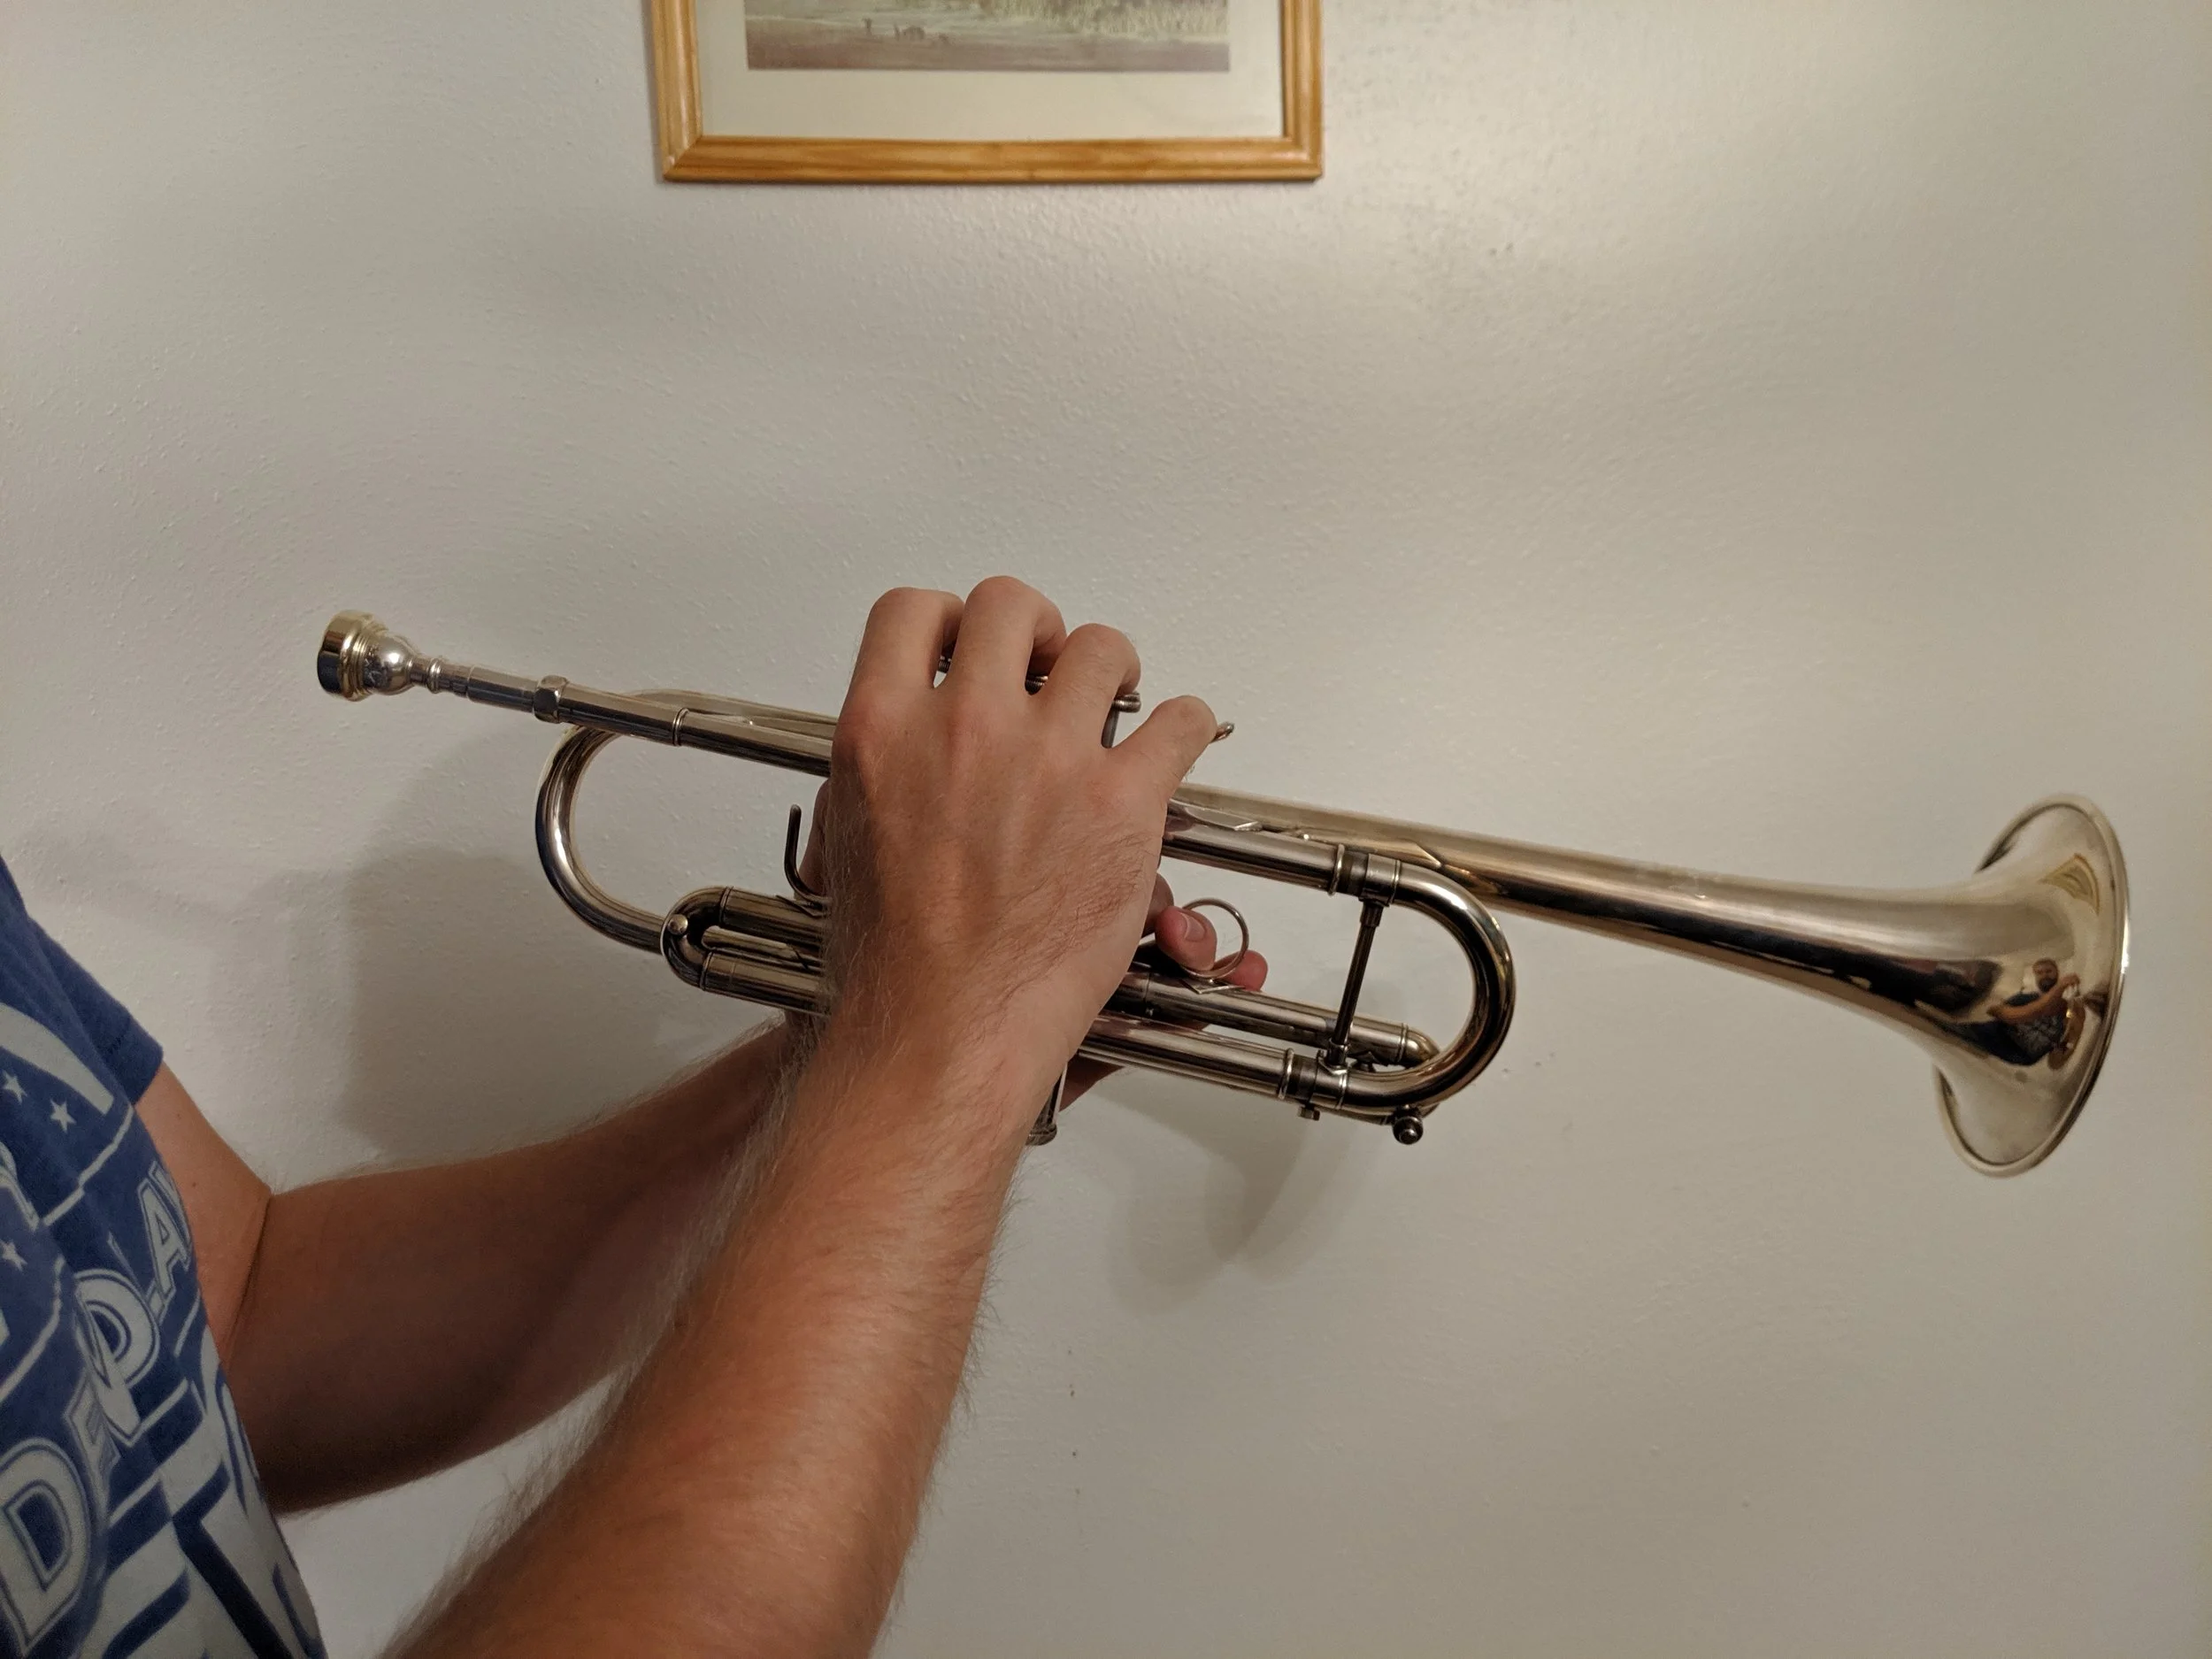
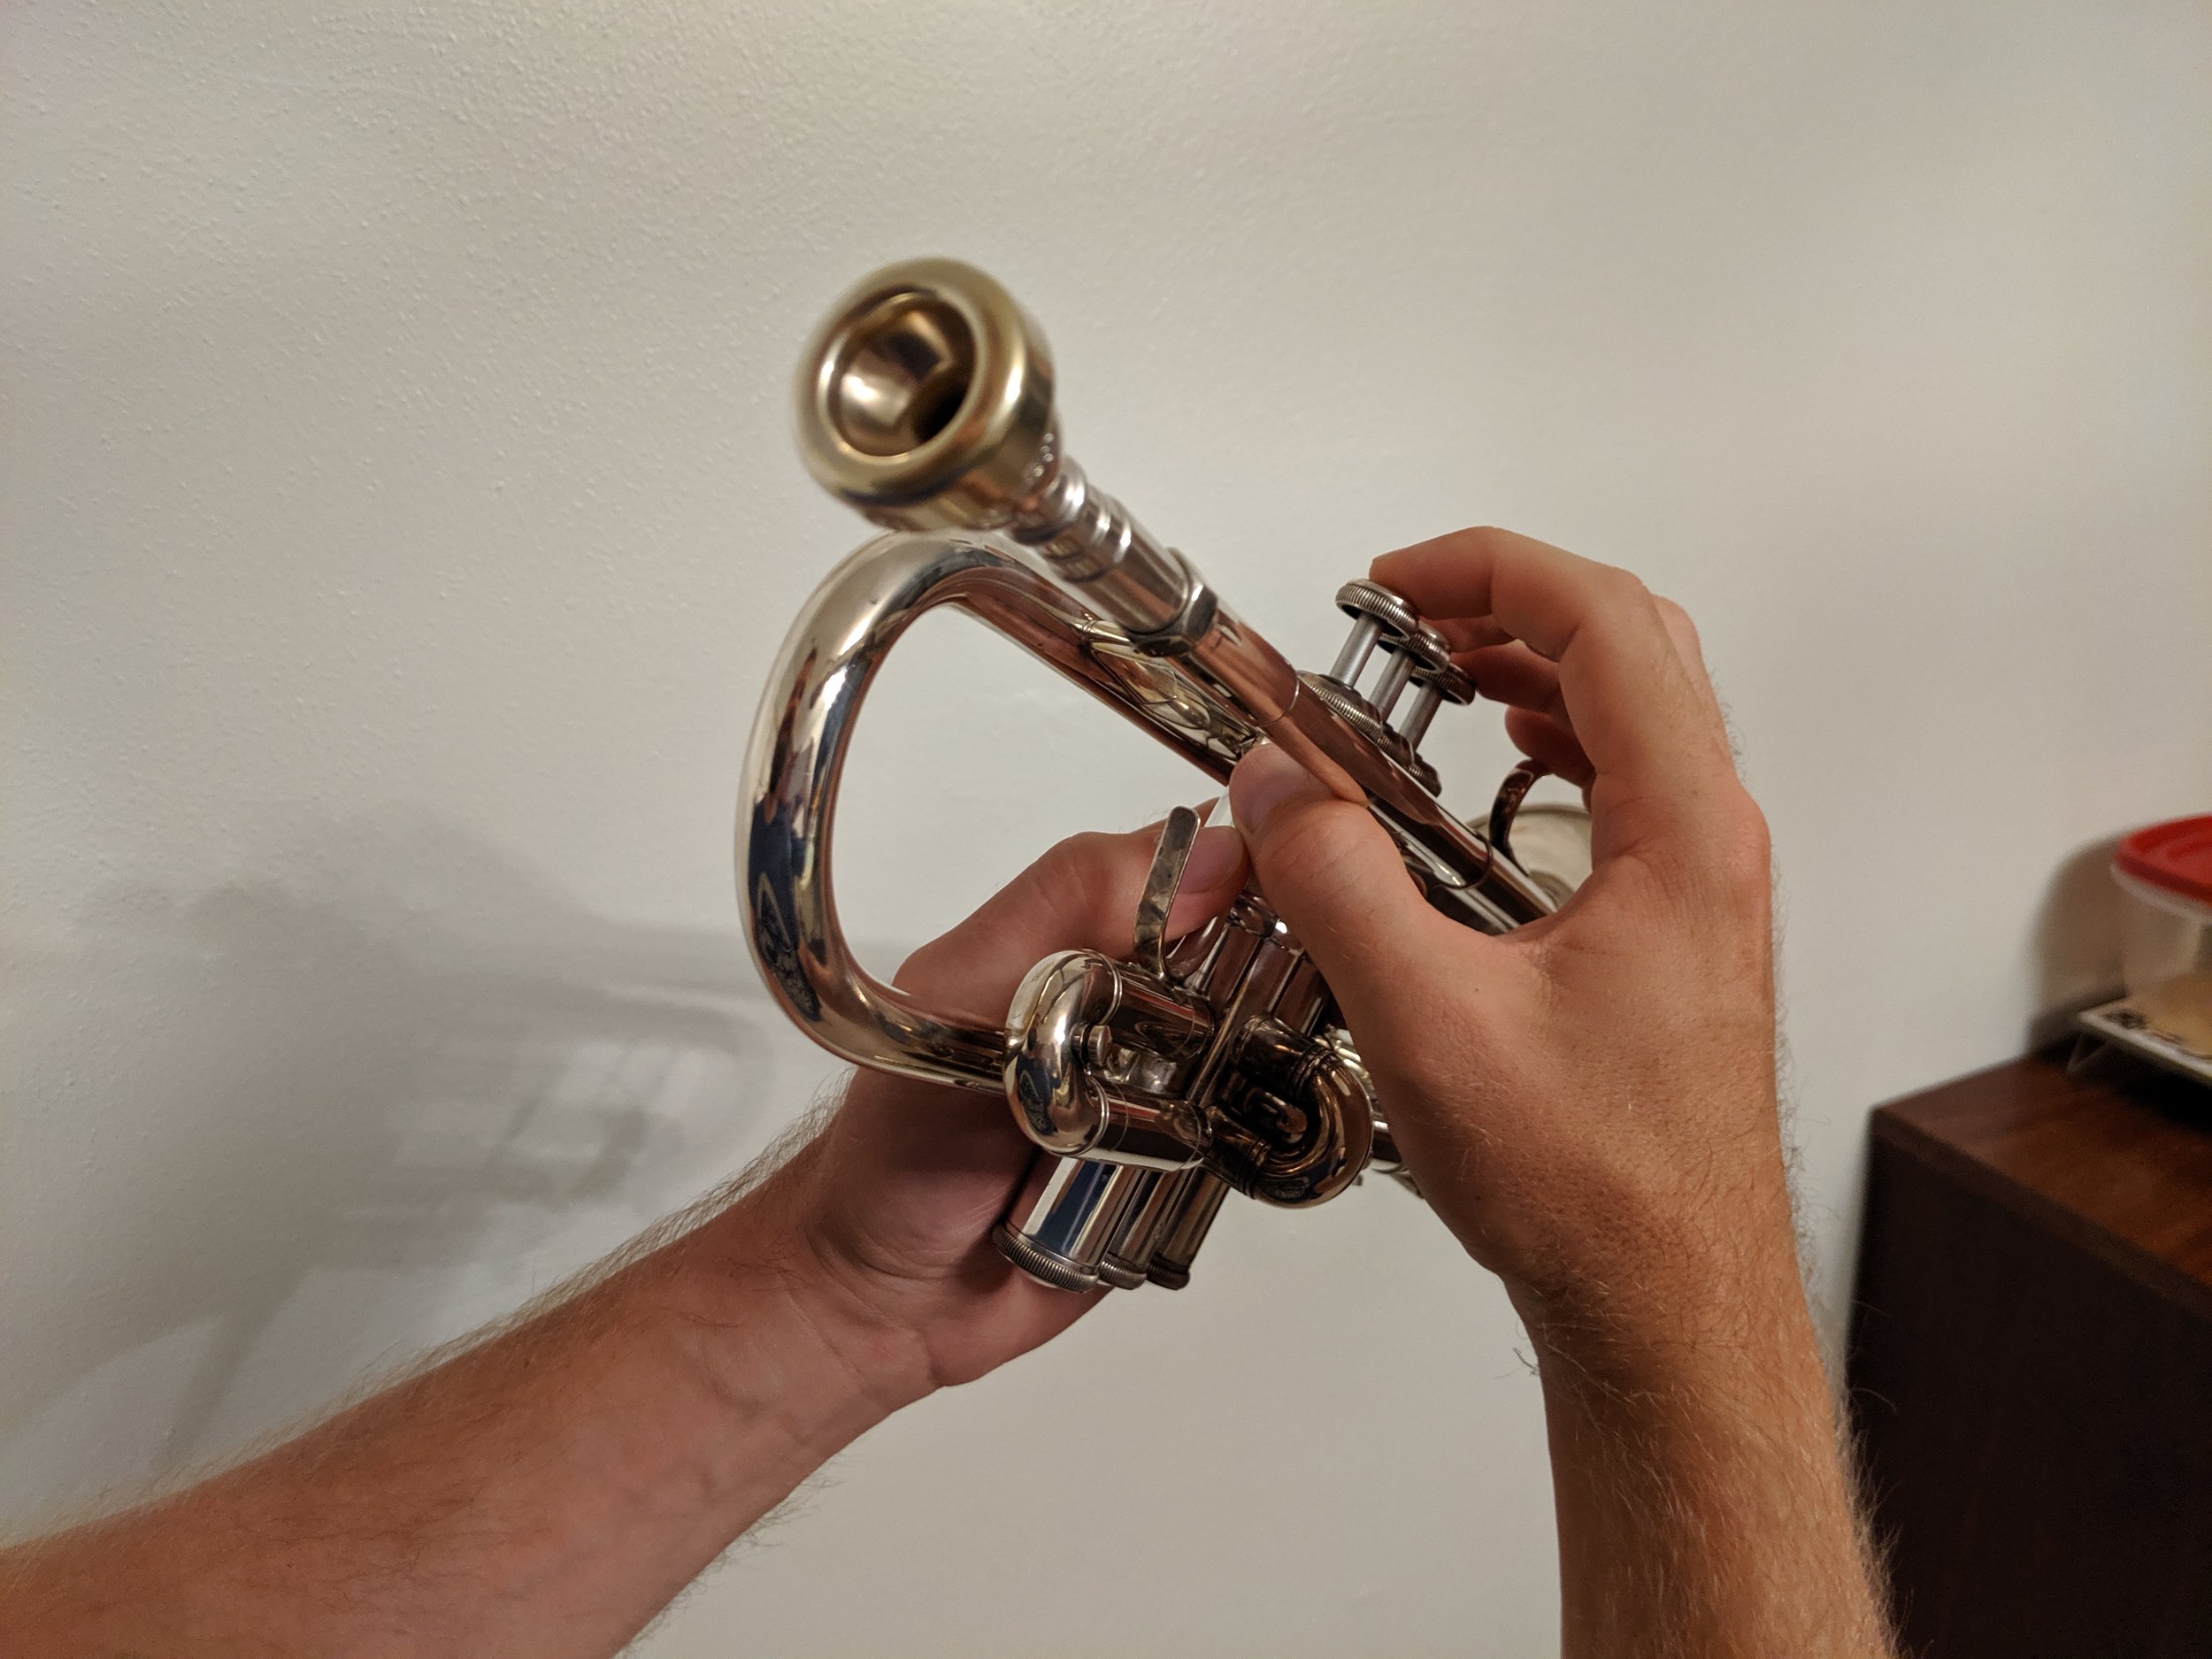
Holding the Trumpet
Before you can start playing your trumpet, you’ll need to know how to hold it. Though you might think this would be a straightforward matter, there is some debate as to what is the “correct” hand position. I feel that whatever fits your hand most comfortably while allowing free motion of the fingers is the correct position for you, which may be different from what is correct for someone else. Below are two of the most common left hand grips. Feel free to adjust depending on your hand size.
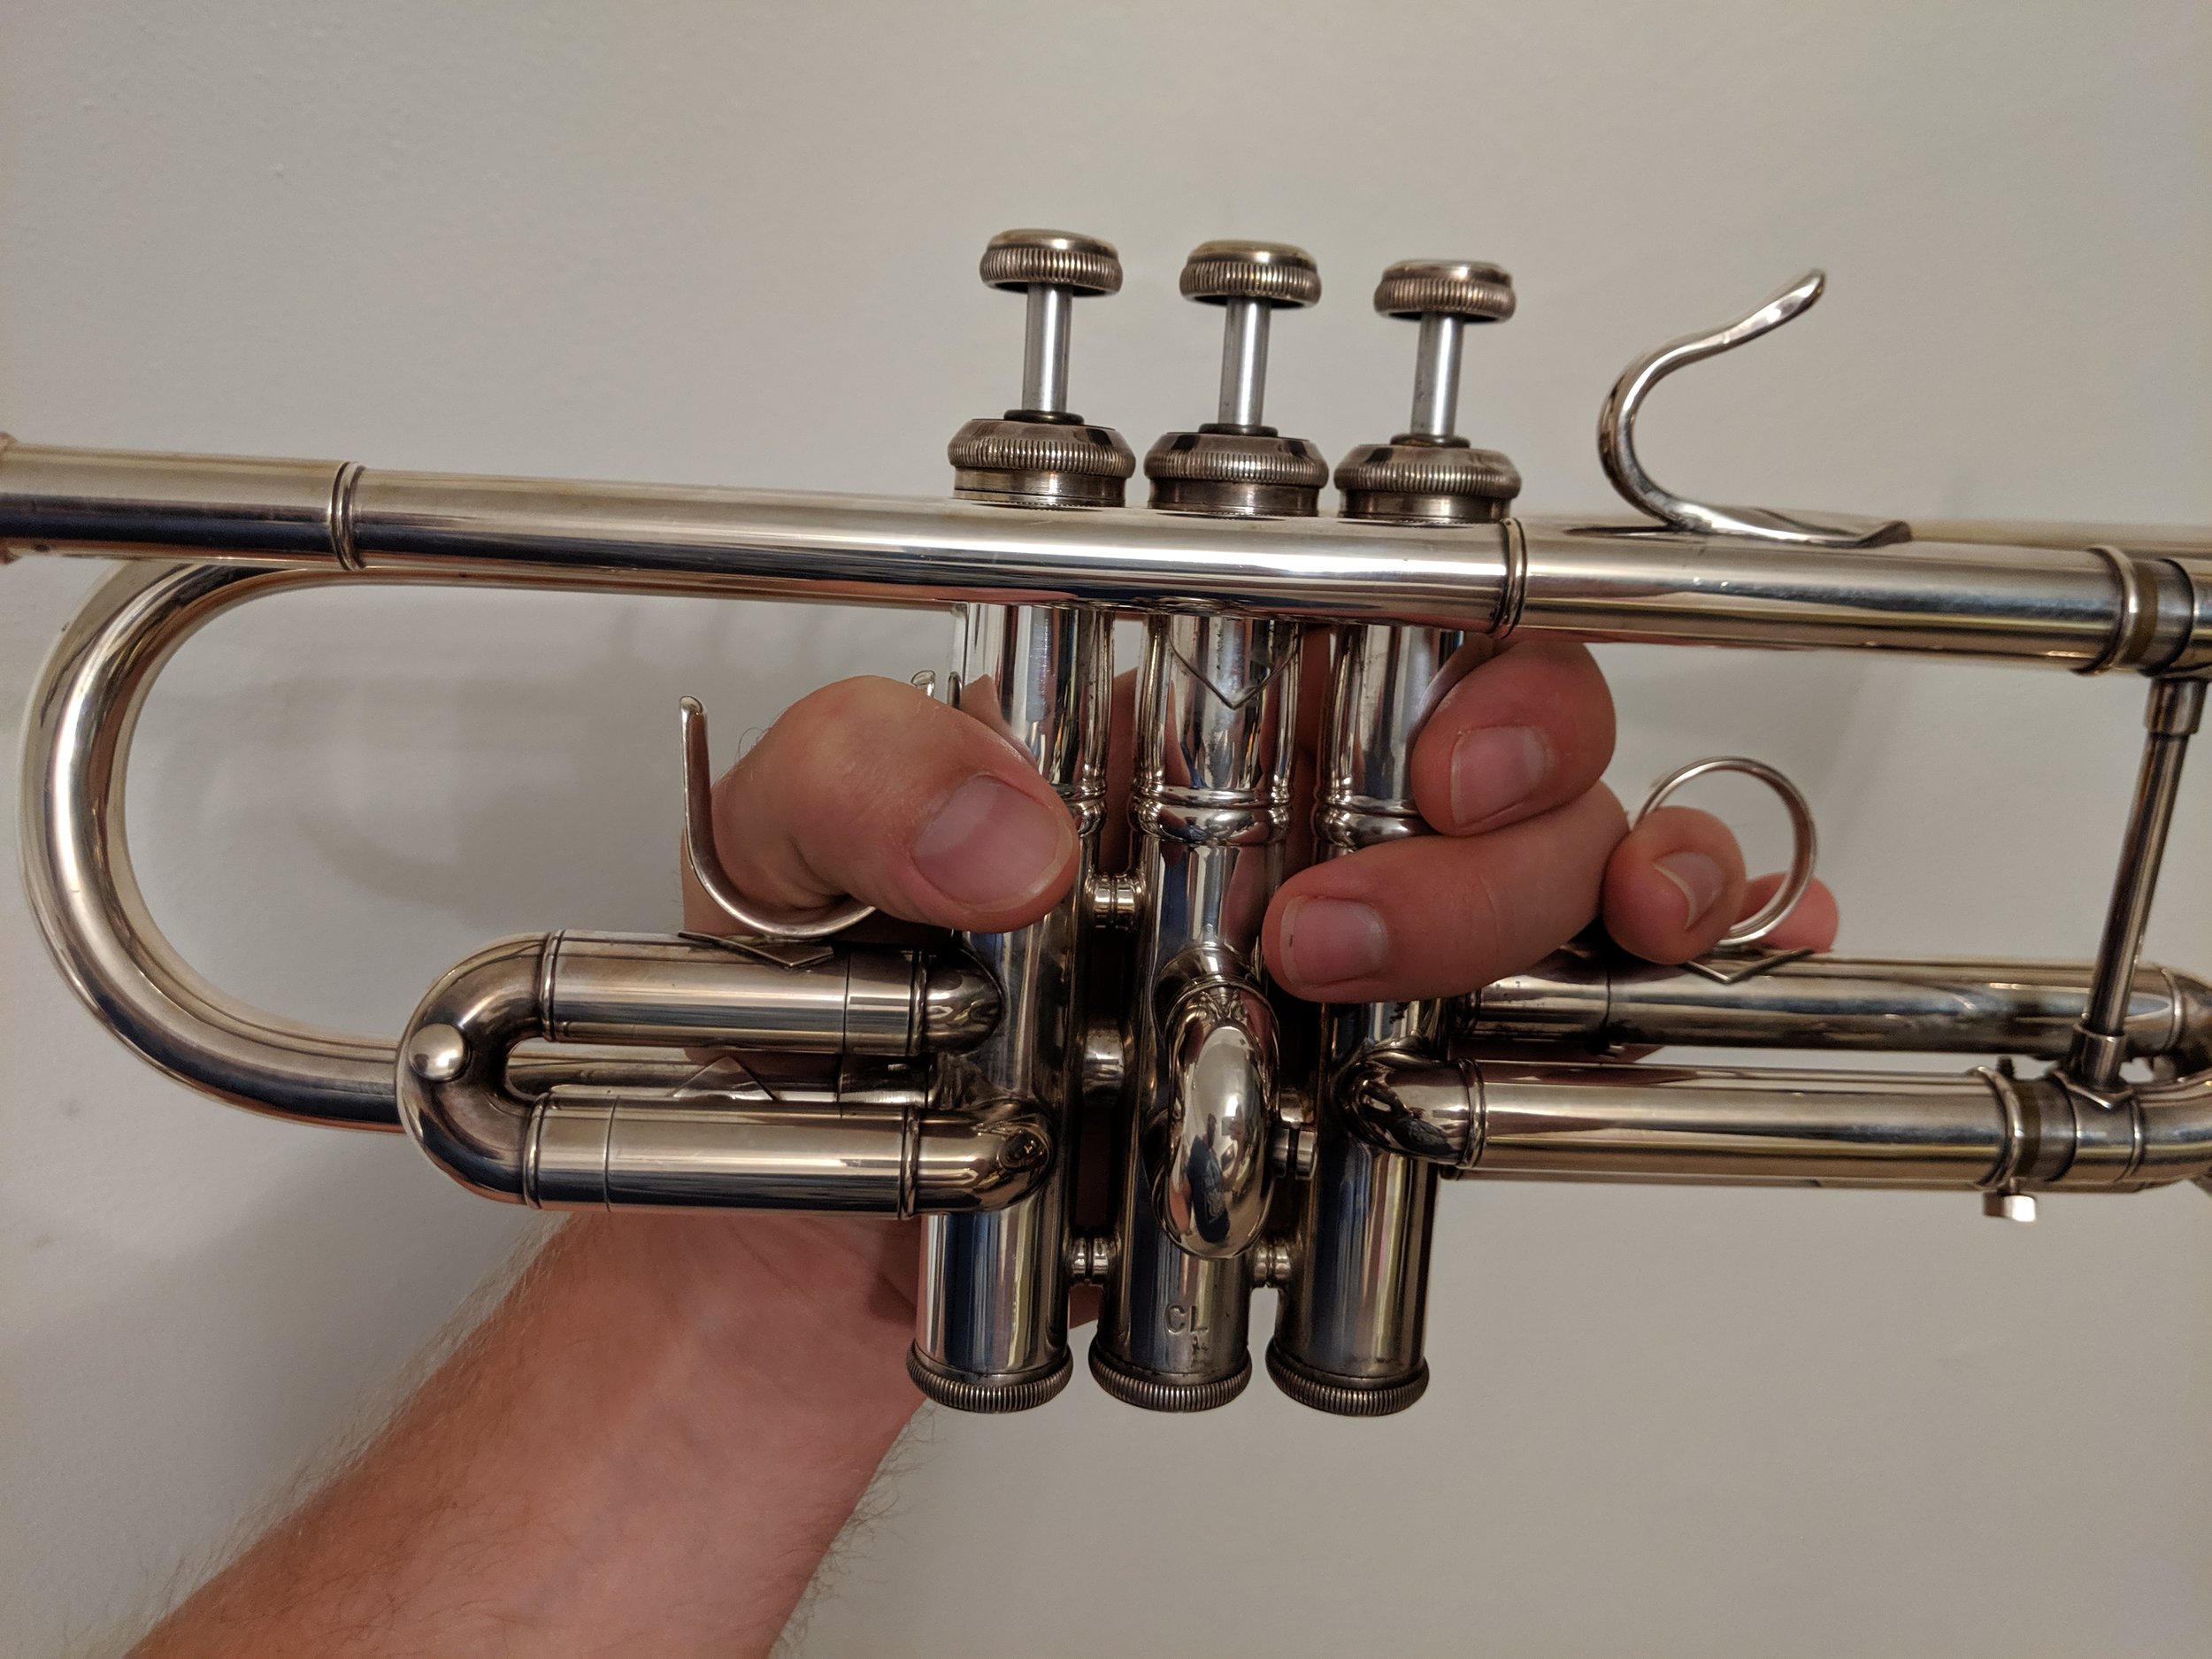

In both of these grips, you’ll put your thumb in the appropriately named thumb saddle, assuming your trumpet has one. Many student models don’t have a thumb saddle, so if you’re missing one, don’t worry about it. How your other fingers wrap around the valve section is where grips vary. Frankly, as long as you can grasp the trumpet, support its weight, and it’s comfortable, you’re good.
At some point it will become necessary to move the third valve slide using the ring. ALL trumpets should have a third valve slide ring of some manner, so if you’re missing this one, talk to your local band repair shop. Which fingers you use to move the slide is dependent on your hand size, shape, and strength. Personally, I have my ring finger in the ring (easy to remember), and move the slide by pushing the ring out with my middle finger or pulling it in with my ring finger. This works well for me, but you should use whatever works well for you.
For the right hand, start with your index (pointer), middle, and ring fingers resting on the first, second, and third valves respectively. The rest of the hand placement isn’t nearly as straightforward, and can be counter-intuitive. For instance, what should you do with your pinky? Despite the hook looking like your pinky should be in it, most teachers (myself included), will tell you to rest your pinky on top of that hook. Here’s why: if your pinky is in the hook, the movement of your ring finger will be restricted. On top of the hook, you can move your ring finger freely, with your pinky potentially moving along with it. That said, if you ever find it necessary to play with only one hand (e.g., while turning a page, changing a mute, or should you only have one hand), then you should make use of the hook to support the weight of the instrument.
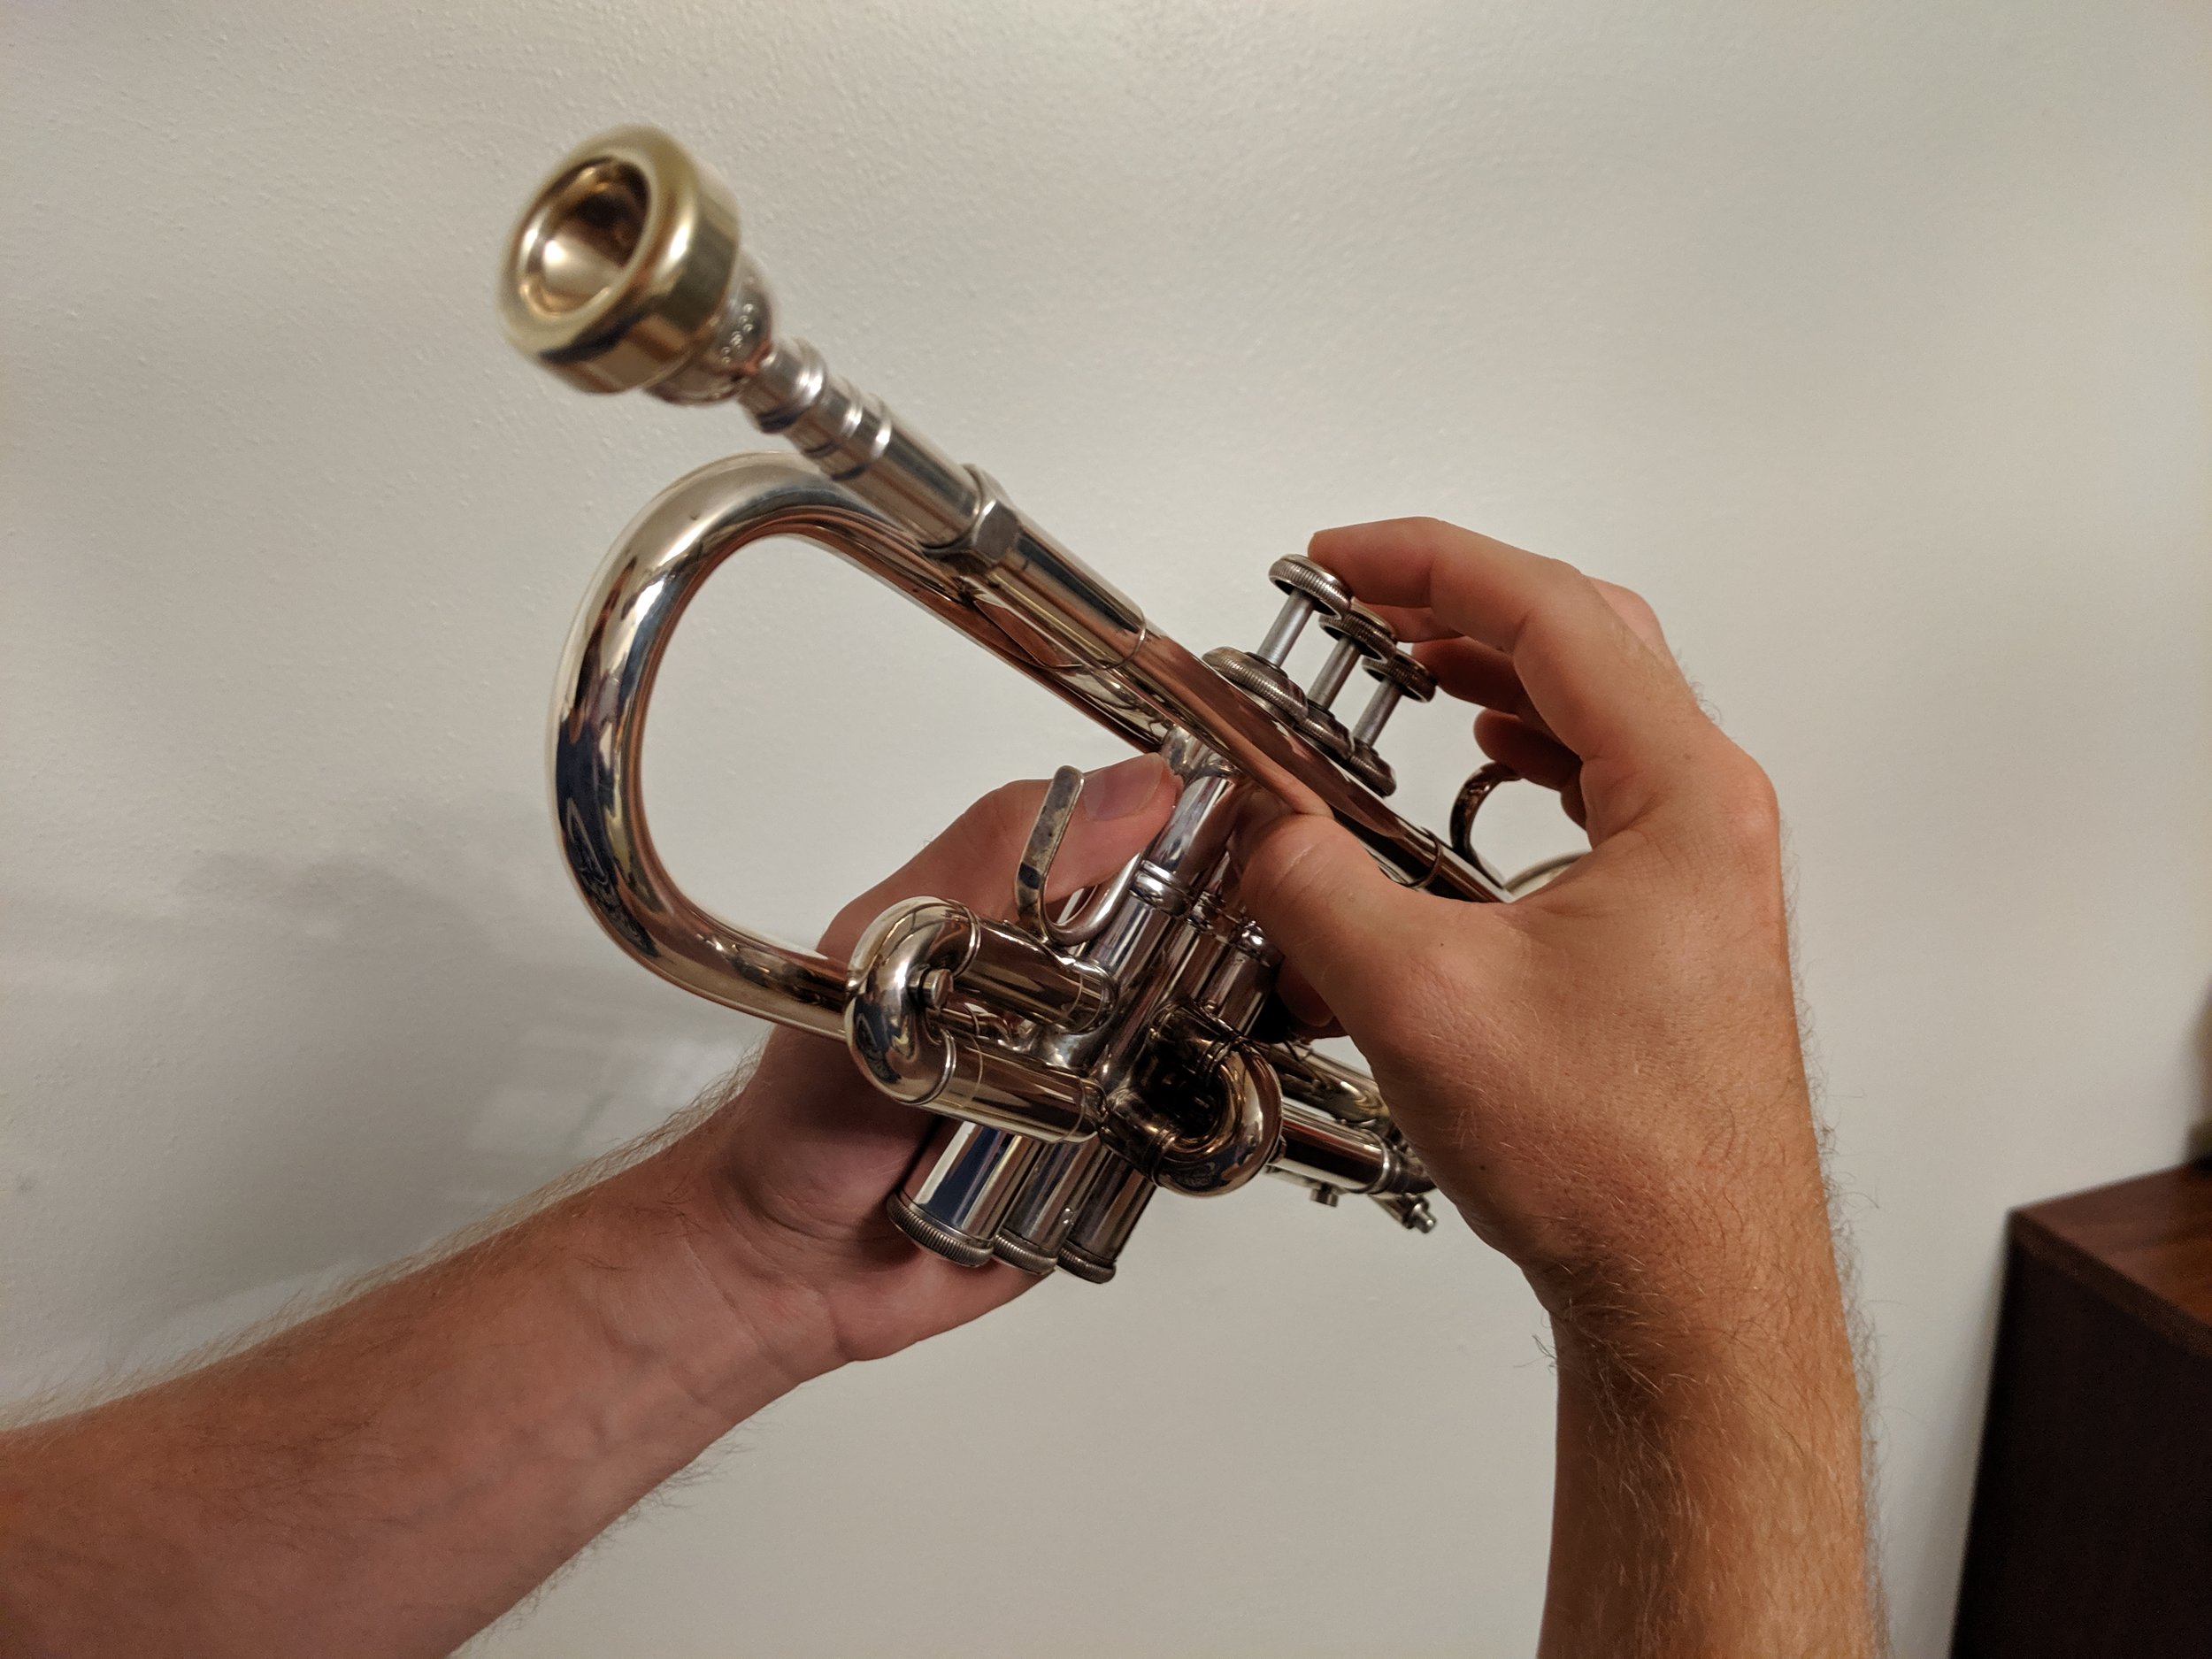
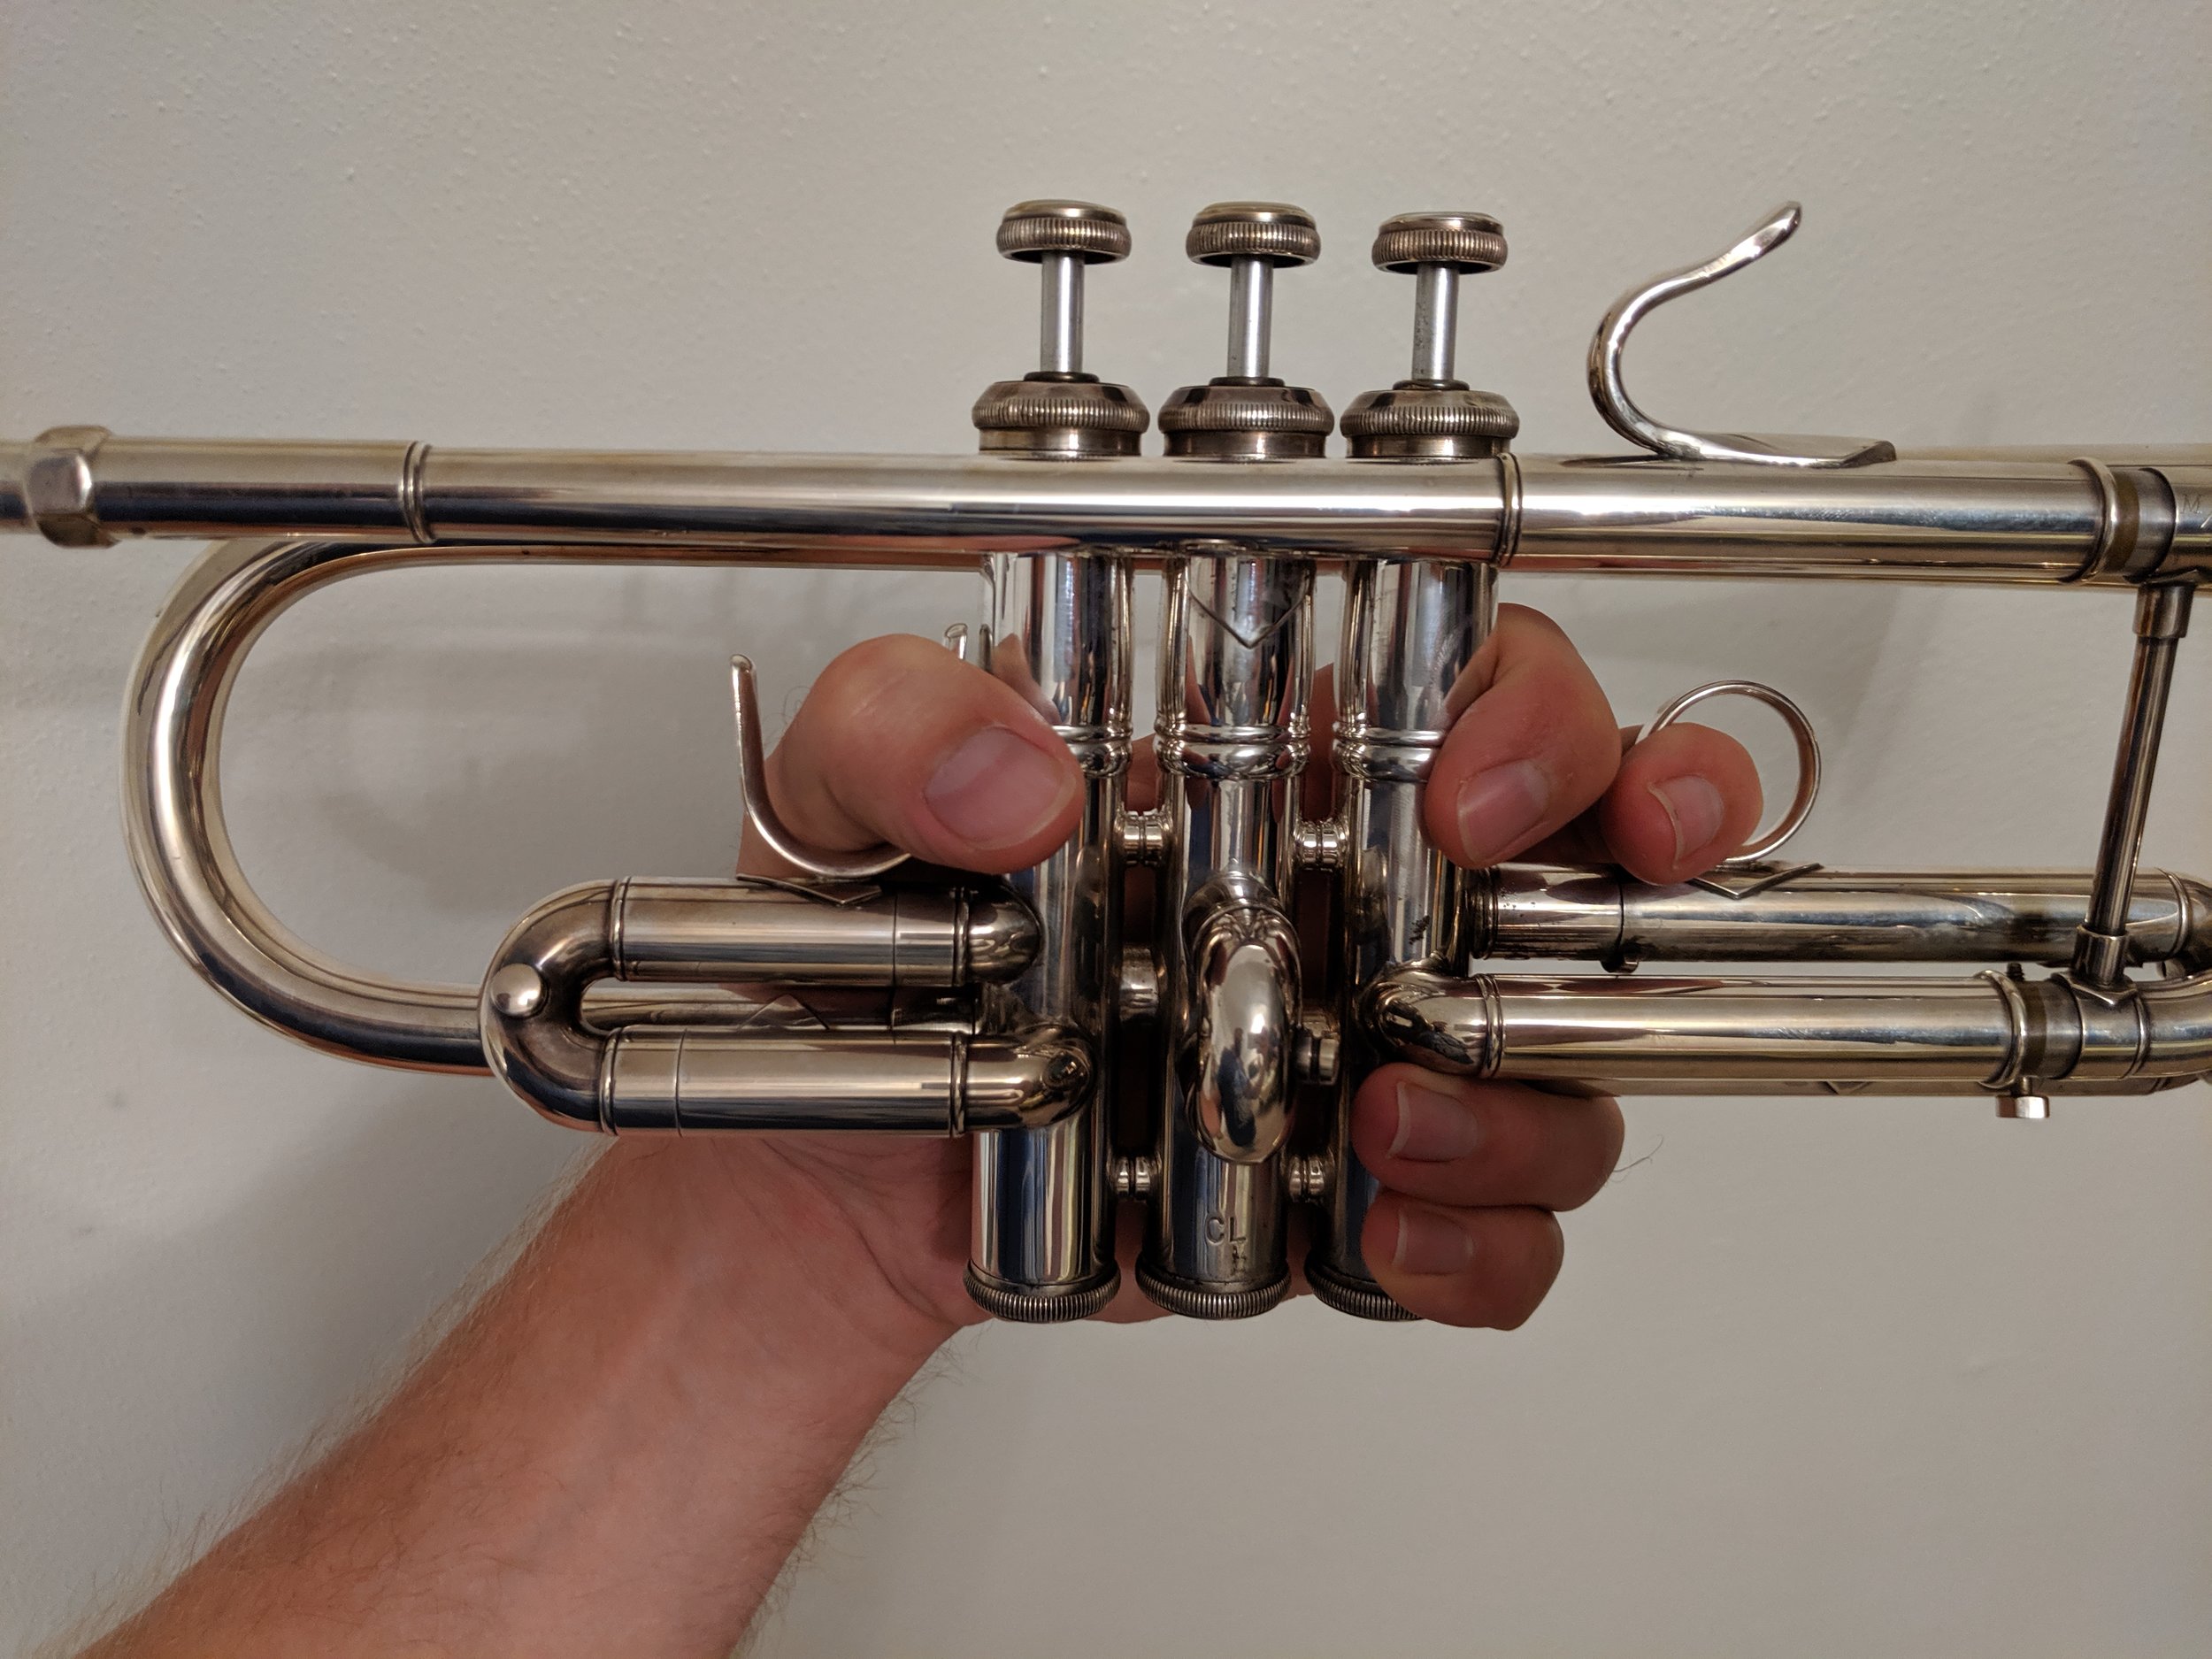
Thumb placement in the right hand is also up for debate, but I recommend placing it between the first and second valve casings. This, like the pinky placement, is to allow for relaxed, free motion of your valve fingers. The palm may want to drift inward toward the trumpet in this position, though, so imagine having a small ball (like a racquetball, squash ball, or stress ball) in the palm of your hand to help arch your fingers into the correct position. If your hand gets to squished in, moving your fingers will become harder. Ease of movement is the name of the game here. This positioning will have you set up to press the valves down (more on that in a later article) with the tips of your fingers, rather than the pads. When speed becomes a relevant component, this will make things much easier.
Alternate placement for the thumb: If you find the above placement uncomfortable (for instance, if you have larger than average hands), try moving your thumb to the underside of the leadpipe on the outside of the valves (This position is also a useful alternative in combination with the pinky hook in the case of one-handed playing). Once again, whatever is most comfortable for you, while allowing free motion is the correct position for you.

Producing Sound
How does a trumpet make sound? It all starts with your lips. Essentially, the trumpet just transmits the vibrations from your lips to the bell, then those vibrations travel through the air as sound. The trumpet is just a type of speaker! Neat, huh? But how do you make your lips vibrate? Assuming you’ve never played trumpet before, I’d like to walk through a 4 step process to get your lips going. If you can already make a sound, this should be an easy refresher.
The first step is, as it should be, the easiest. It is also rather silly, but that’s ok, so are most musicians. To begin, relax the muscles in your face, keeping your lips together. Using very little effort to keep your lips together, blow air out through your mouth and let your lips separate and bounce off each other. This process is sometimes called loose lip buzzing. It is also called horse flapping, for its resemblance to how a horse flaps its lips. This will help to loosen up the muscles around your lips, increase blood flow, and get your lips accustomed to vibration, which will probably feel a little weird at first.
The second step can be called either firm lip buzzing or, more commonly, free buzzing. This time, use a good deal of effort to keep your lips together as you blow air. Think of making a continual “p” sound (similar to the tongue out “raspberry” sound). This will take more air than you might expect and may make you light-headed at first. If that happens, take a break and come back in a few minutes. Try holding onto one note as you get comfortable with this, then try changing notes up or down. At this point, don’t think too much about how it’s happening, just whether or not it is. Trust me, I’ll go into way too much detail on the mechanics of it in a later article.
The third step brings the mouthpiece into play. Buzzing on the mouthpiece will feel similar to free buzzing, but will require much less muscular effort, so if you were successful in step 2, step 3 should come easily. The basic setup will begin the same way, with a continual “p” sound to produce the note. The change, of course, is that the mouthpiece will be in your hand(s) and on your face. Your grip and mouthpiece placement will both affect the way the buzz happens, so let’s take a minute to learn the “correct” ways to do it.
Gripping the mouthpiece is far less complicated than gripping the trumpet, but as with many simple things, it is often overlooked. There are two ways that I favor as being “correct” when teaching mouthpiece buzzing. That’s not to say that other grips are wrong, but these are both geared toward avoiding excessive mouthpiece pressure (which can lead to some bad habits… more on that at a later time). If neither of these grips work for you, I encourage you to experiment and find one that does, but try to keep minimal pressure in mind as you do.
The first grip involves using your thumb and forefinger to grasp the shank (smooth part) of the mouthpiece. Your remaining fingers can stay up or down, whichever is more comfortable for you, so long as they remain relaxed. Don’t strain the fingers holding the shank. You only need to support the mouthpiece; don’t try to crush it!
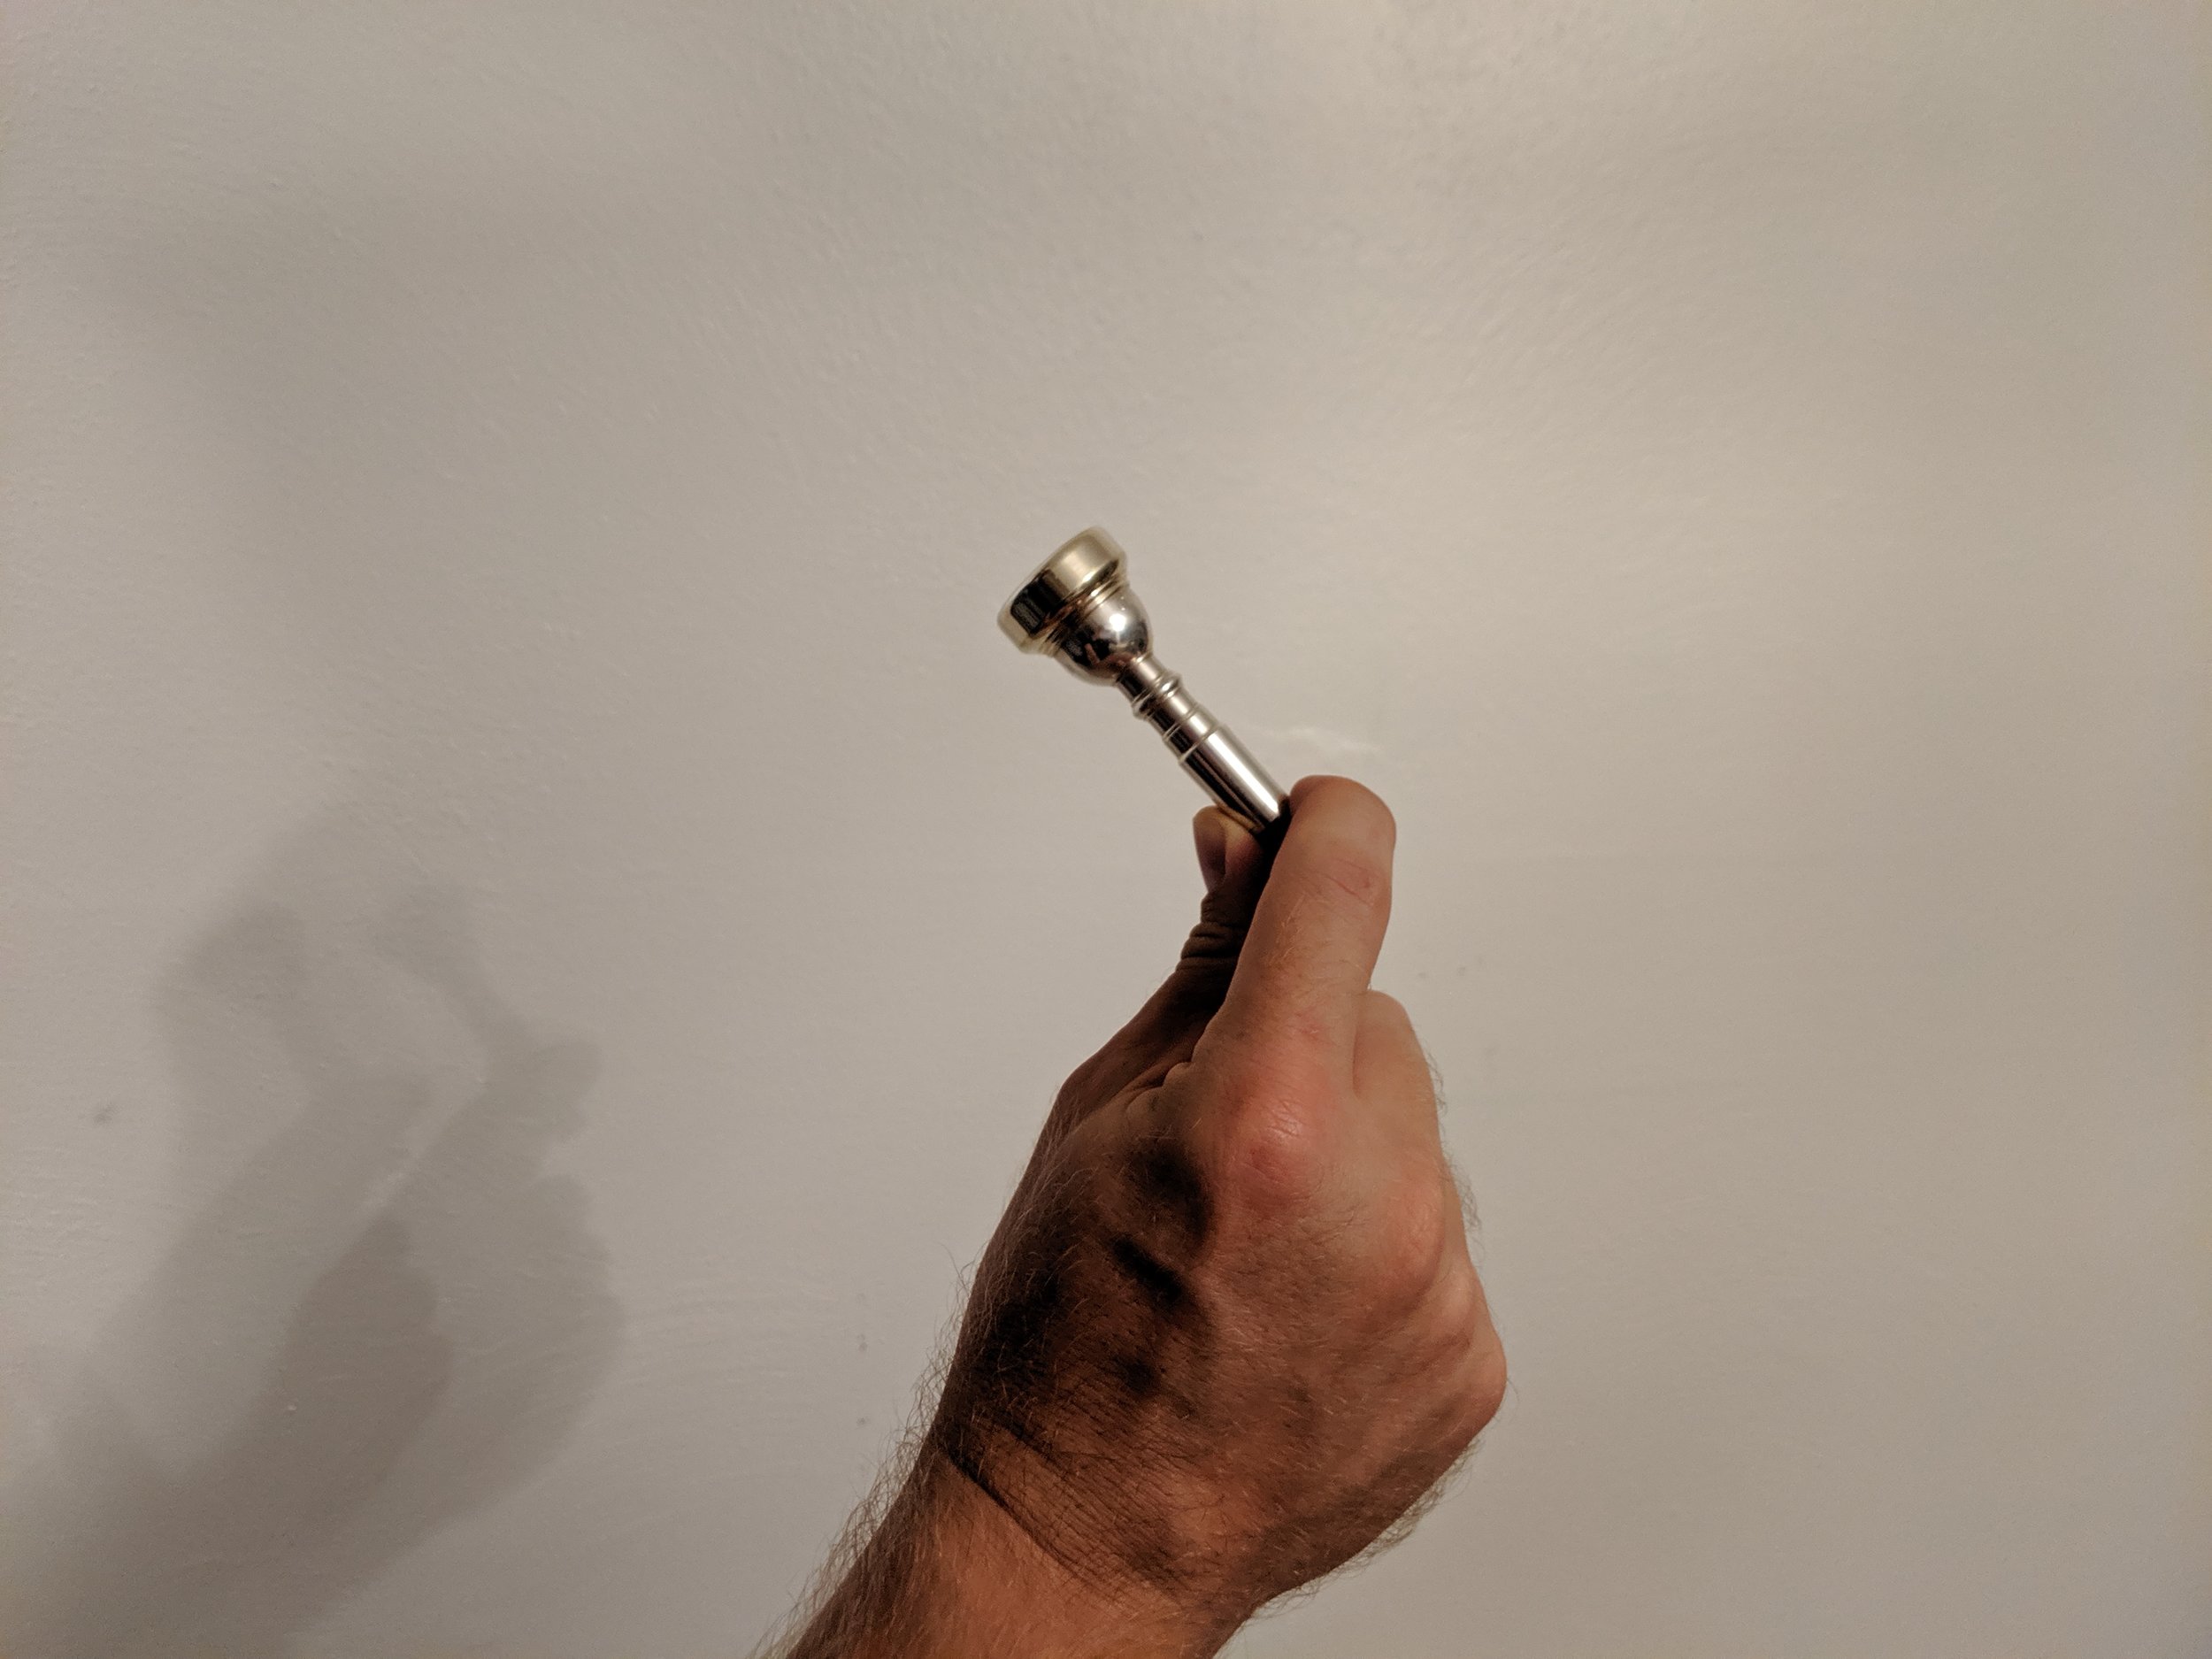
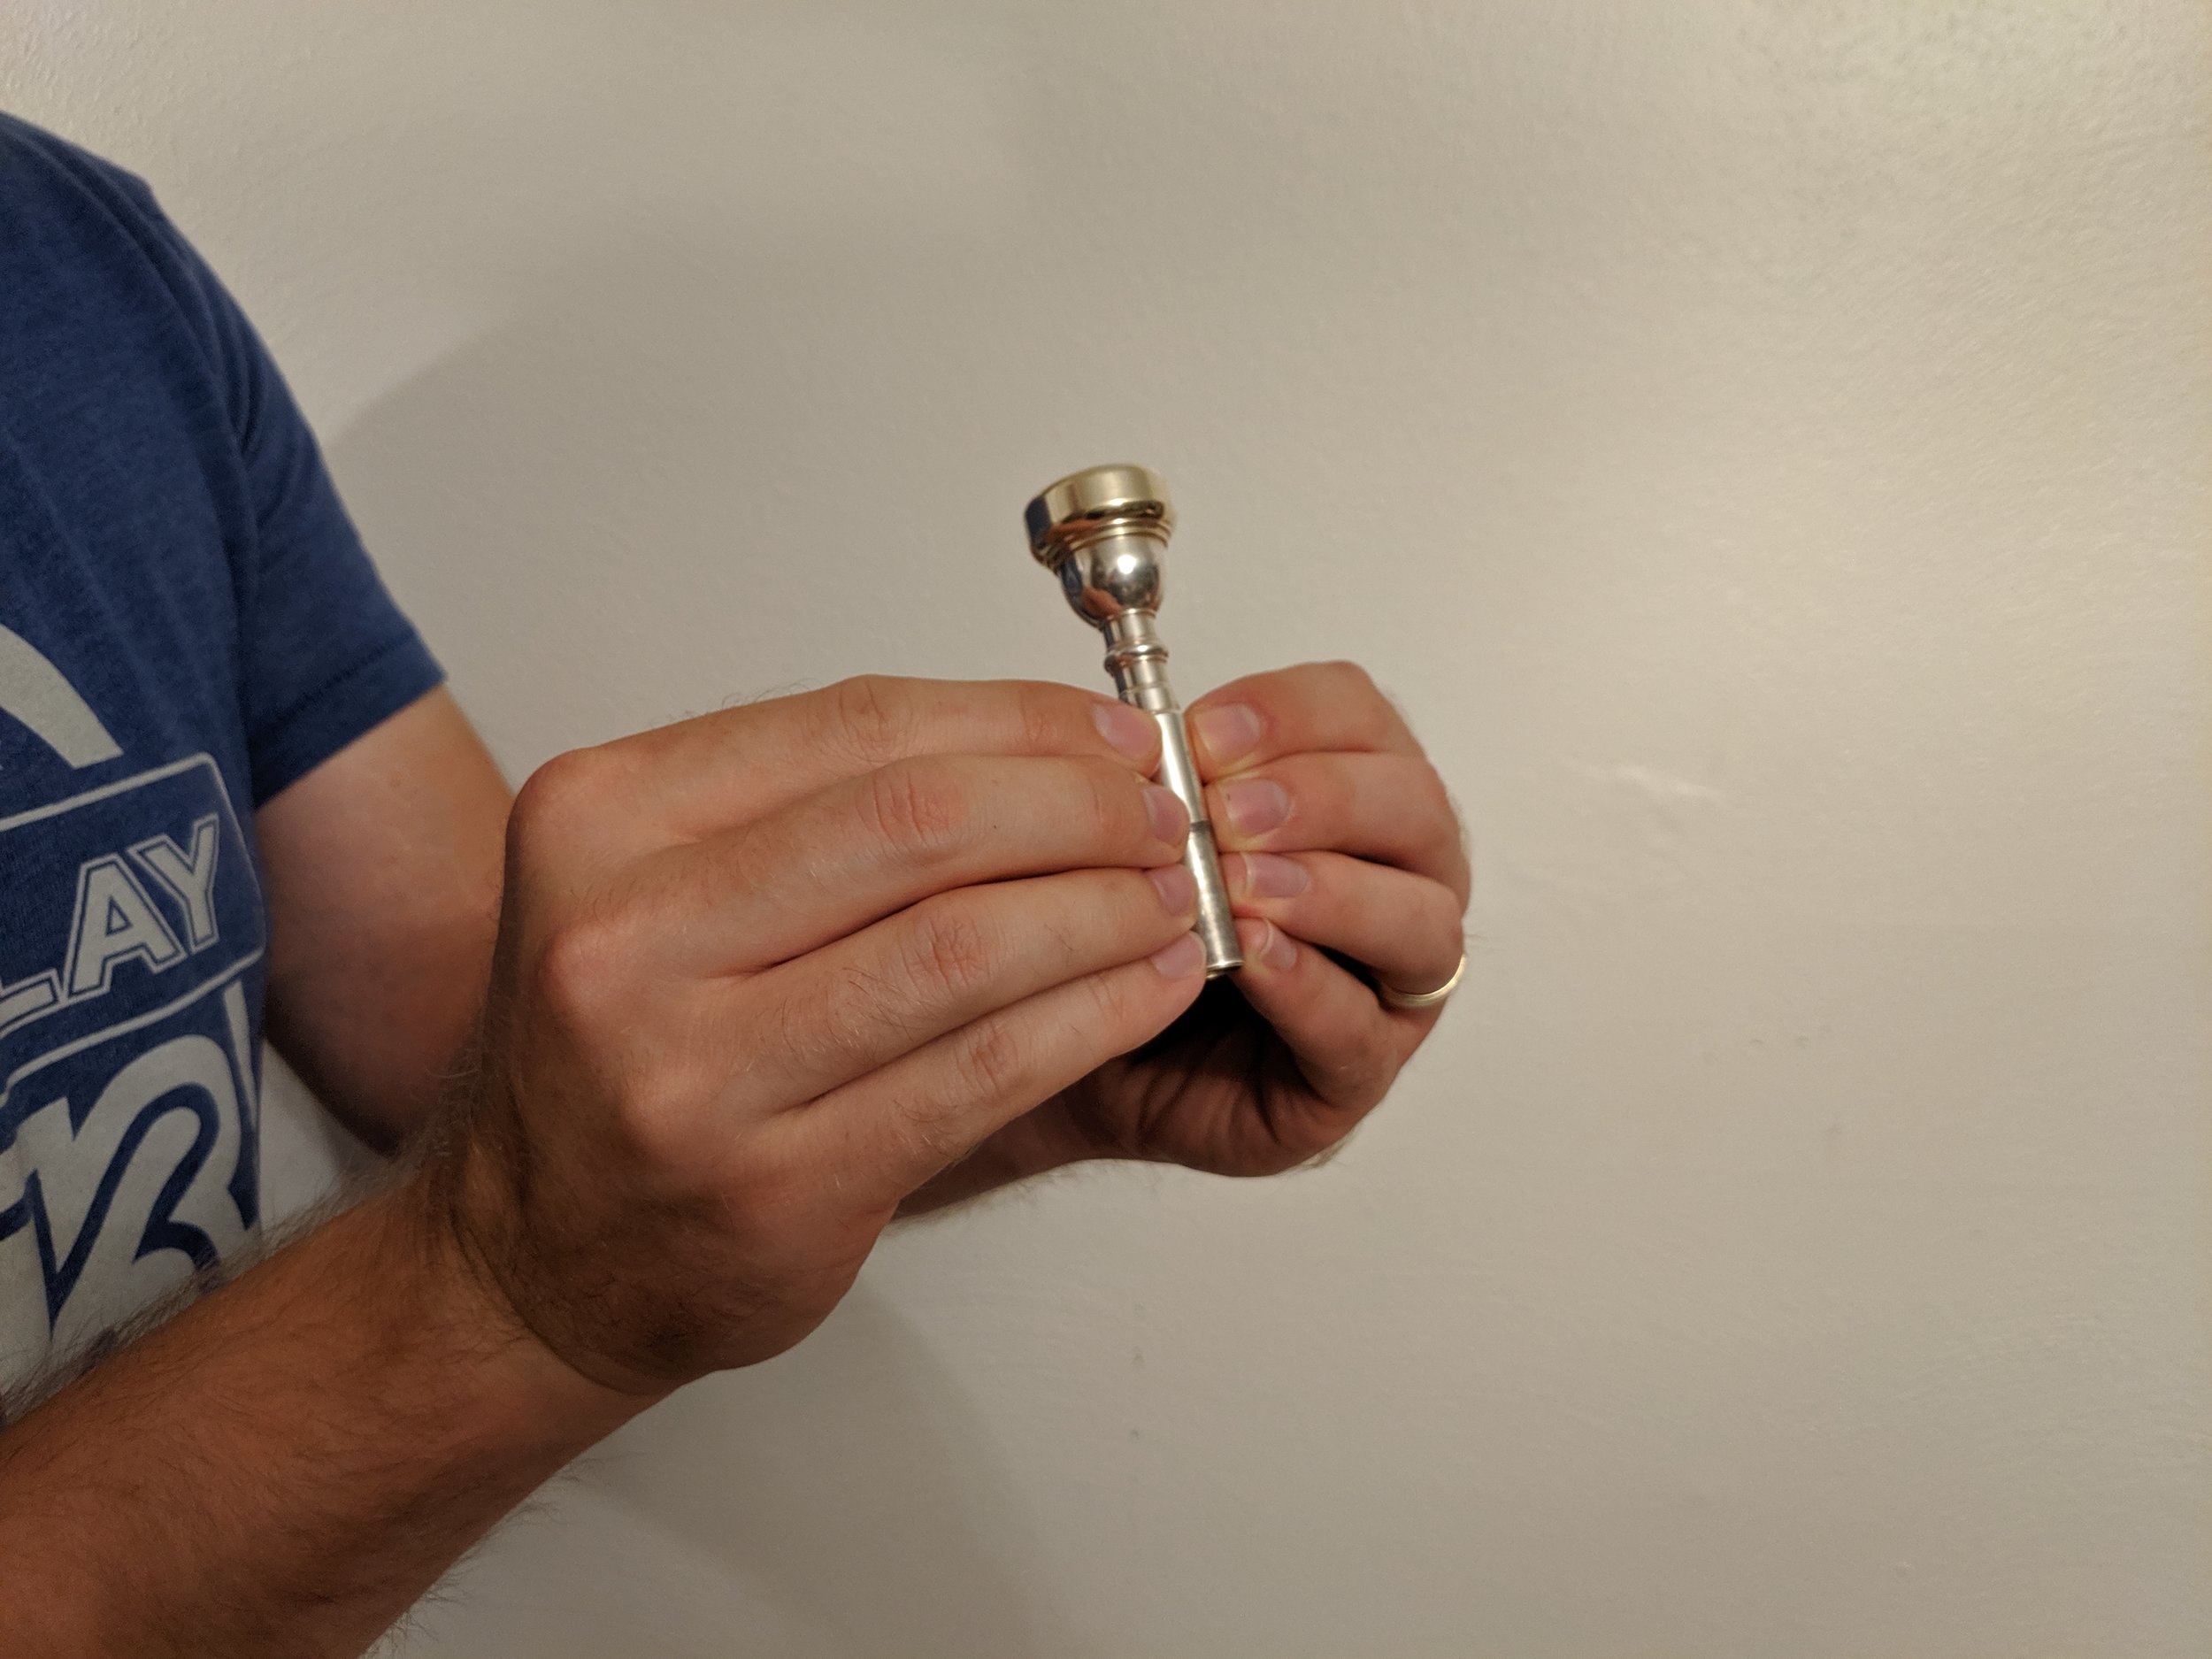
The second grip uses all of your fingertips together. Bunch your fingers together as if making a hand puppet, then place both hands on the mouthpiece shank on opposite sides. Again, the grip should support the mouthpiece without straining.
Both of these grips, when done correctly, remove the ability to use excessive pressure when buzzing. Once you begin pressing the mouthpiece too hard into your lips, your fingers will slide up the shank toward the cup. Fingers in place: good. Fingers moving: bad. Again, we’ll talk more about mouthpiece pressure later, but for now, just try to keep it light.
Now, let’s talk about placement of the mouthpiece on the lips. Various method books over the years have given inconsistent advice over what is considered “proper” placement. Some recommend half top lip and half bottom lip, some dropping it lower for one-third top lip and two-thirds bottom, and others recommend the exact opposite. Placement from left to right is usually recommended as being centered, or at least very close to the center. So, what is correct? Whatever works for you! The fact of the matter is that each person’s embouchure (that’s the fancy music word for the setup of muscles around your lips that help you make your sound) is different and will require a slightly different setup. I don’t play strictly on center, myself, so what works for you may not be what works for me, and vice versa. Starting in the center (both up/down and left/right) is a good place to start, but you should experiment and find what placement works best for you. Find a place that, ideally, is both comfortable and easy to produce a sound.
Finally, we get to use the trumpet! If you’ve succeeded on steps 2 and 3, this should be a piece of cake. Similar setup, but less effort. Think of a “p” sound and blow into the mouthpiece (after you put it into the trumpet, of course). Congratulations! You (probably) just made a sound on your trumpet. If you didn’t, don’t worry. Try again. Use more air. Use less air. Relax your lips. Tighten them. Once you’ve got it, remember how it felt and try to do it again, and again, and again!
Next week, we’ll look at the different ways to change notes so we can start to make music. Now go play some Trumpet On Your Own.